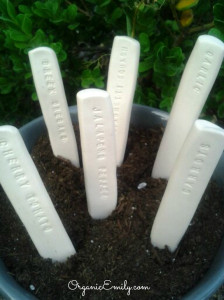
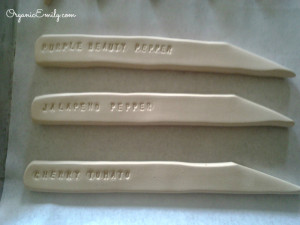
Here’s a project you can do with your kids! Mine loved rolling the clay and stamping the letters! These darling garden markers are reusable and weather proof because the words are stamped into the soft clay before placing them into the oven to dry. Plan on making 18-20 garden markers with a 1lb. package of polymer clay. We used our metal stampers from our Spoon Garden Marker project, but you can also use rubber stamps too! The process is very simple!
You will need:
1lb. Polymer clay
Knife
Rolling pin
Metal or Rubber stamps
Jelly roll pan lined with parchment paper
275 degree oven
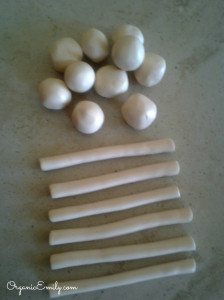
Cut the clay to make 1 inch clay balls. Roll the balls into 5 inch logs.
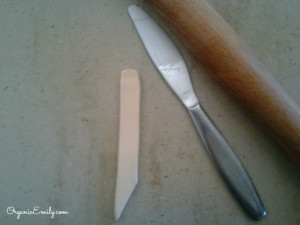
Roll the log flat at a 1/4 inch thickness. Cut the bottom at an angle for the marker to easily penetrate the soil.
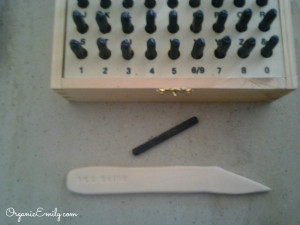
Stamp the clay with metal or rubber stampers with what you plan on growing!
Place the soft clay markers on a jelly roll pan lined with parchment paper. Bake at 275 degrees for 15 minutes or until the clay stiffens. Let cool and place where needed!

