Herbal Women’s Retreat and Herb Walk

rp_springville-canyon-pic-300x225.jpg

I still have room in the retreat for May 28th through the 30th in Spanish Fork UT! The cost is $295. We are still going to go forward with it now that we can be in groups of less than 20. Our group will be small and we would love to add a few more. Please send me a message through my contact page if you are interested.  I will also be holding an herb walk at my home in West Jordan on May 23rd as an extension of the retreat. If you would like to just join is for the herb walk on the 23rd and not the retreat the cost for the herb walk is $10.

Here is our tentative itinerary for the retreat! Hope you can make it!

Thursday May 28th

4:00 pm – Check in

5:00 pm – Let’s get to know each other game!

5:30 pm – Prep for dinner

6:00 pm – 7:00 pm – dinner and clean up

7:00 pm – How to decrease stress in our lives seminar

7:30 pm Gentle yoga stretch and guided meditation

8:30 – Bedtime – free time and swimming until 10 pm. Quiet time after 10 pm. Lights out by midnight we will be hiking the next day.

Friday May 29th

8:00 am – Breakfast and clean up

9:00 am – Herb walk/hiking

12:00 pm – Prep and eat lunch

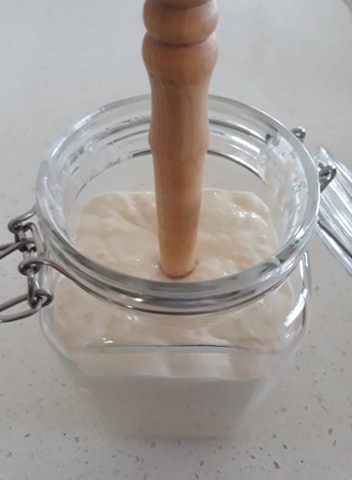
1:00 pm – 4:00 pm – Hands on herb making class.

4:00 pm – 5:00 pm – Free time

5:30 – Prep for dinner

6:00 pm – 7:00 pm – Dinner and clean up

7:00 pm – 8:00 pm Guest speaker

8:00 pm – Yoga stretch and guided meditation

9:00 pm – 12:00 am Lights out by midnight.

Saturday May 30th

8:00 am – 9:00 am power yoga class

9:00 am – 10:00 am prep, eat and clean up breakfast

10:00 am – 11:00 am – pack up, clean up and check out

Sourdough Buns

Sourdough Buns

These buns are so good! They are perfect for pulled meat sandwiches or burgers and even a side roll with dinner. I love the crumb and flavor with these.

Recipe

1/2 cup starter

2 cups coconut milk

1/4 cup coconut oil

2 teaspoons sea salt

6 cups white wheat flour or more if needed.

Mix together the starter, coconut milk, oil and salt in a large bowl. You could also use 2 cups water and 1/2 coconut milk powder. Add half the flour and mix well. Add the remaining flour and mix by hand until fully incorporated and the dough is tacky. If the dough is still too wet add a little more flour 1/4 cup at a time. Cover the bowl with plastic wrap and let rise on the counter for 12 to 24 hours.

Once the bread has risen and ready to shape, use avocado or coconut oil to oil the counter. Cut the dough into 14 large round balls about 1/4 cup or so each. Pinch the dough together at the bottom of the roll. You could also make more by making them smaller.

Sourdough Buns 2

Let rise for 1-2 hours until they have doubled in size and are nice a big. Cut the bread to vent and spread the rolls with melted butter. Bake at 375 degrees for 35 minutes.


Caring For Your Natural Yeast Starter

sourdough starter 1

It is amazing to me that I have been able to keep my natural yeast starter alive for years. I learned a few tricks that make it easier and happy to share them with you.  I bought my starter from a friend who bought it from another friend who said it is a strain that is over 200 years old from Czechoslovakia.  Take it for what it’s worth, my experience has been that this is the best mild tasting natural yeast I have ever baked with.

*

First, my starter is fed with a biologically grown whole wheat white flour (no pesticides are used). You could use an organic white flour too. I have tried other grains and it just doesn’t do as well. White flour is best.

*

Second, when adding water to your yeast you must never use chlorinated water. This kills the yeast 9 times out of 10. If all you have is chlorinated tap water let it sit on your counter for an hour so the chlorine dissipates.

*

Before each use stir your starter.  If you haven’t used it in a while pour off the liquid (ethanol) and scrape off any gray dough. Stir and use. If it has been a month (or two) between uses consider taking out ½ cup, discard the rest, and feed with 2 cups flour and 2 cups water to renew and boost. (You may need to transfer to a bowl). Leave on the counter overnight, it should bubble up and smell good. From there you can use it. Do not keep your starter in any metal container. Glass or ceramic is best.

*

Feed it after each use. Make it thick enough so a stirring stick or spoon can stand on it’s own so it has plenty of food to eat and keep in the fridge. We make 6 loaves of bread at a time. This takes out 1 and 1/2 cups of the starter from the jar. I usually feed it 1 cup water and 1 and a half cups flour to make it thick. The measurements do not have to be exact. I put plastic wrap over mine because it does need some air to grow unlike other fermented foods. From the picture above you can see that I have removed the rubber liner on my large jar. I allow the lid to sit un-closed on the jar and place in the fridge.

*

If you are interested in purchasing some of my sourdough starter in a quart sized Mason jar for $8 send me a message from my contact page. Starters are for sale for pick up only in Utah.