Saving “Wet” Seeds

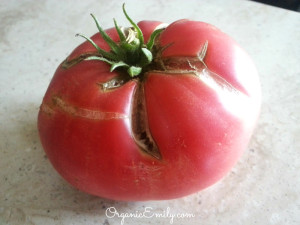
Brandywine tomato

There are multiple forms of seeds that can be saved and others that don’t do as well.  For the sake of simplicity we’ll discuss 2 types.  Heirloom and hybrid seeds.  Heirloom seeds are best for saving and most reliable because they come from a generation of at least 50 years old and older, some as old as a few hundred years.  Their flavor is usually very good.  Their production is consistent, but not always abundant with some varieties.   Hybrid seeds are produced mostly for commercial growers to with stand mechanical harvesting and long distance shipping.  Their yield and production time is high.  However, this type of seed is not good for saving.  It will either be sterile or revert back to a parent seed and not give you what you originally purchased.

A “wet” seed comes from a plant inside the actual fruit and require an extra step in preserving compared to “dry” seeds.  You can review how to preserve dry seeds here https://rootedemily.com/?p=612   Wet seed vegetables include zucchini, cucumber, pepper, tomato, melon, squash etc.

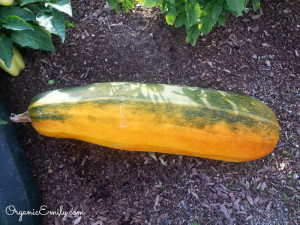
mature zucchini ready to harvest seeds

Just like dry seeds these also need to come from fruit that is mature, some to the point of past eating.  Like zucchini or cucumber.

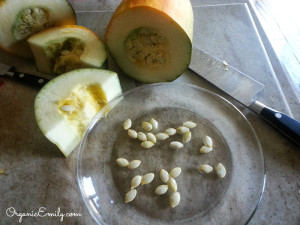
zucchini seeds

Most seeds that come from fruit are simply removed, rinsed and dried on a glass plate for 2-3 weeks.  These seeds must be completely dry before storing or can be susceptible to mold and rot.

The exception are tomato seeds.  They take an extra step and need to go through a fermentation process before drying.

Brandywine tomato

When choosing a tomato to save seeds from, it is best to choose one that is large, soft and ripe.  Seeds saved from tomatoes that are not fully ripe will not germinate the following year.  Cut the tomato in half and scoop out the seeds and gelatinous liquid with your fingers.

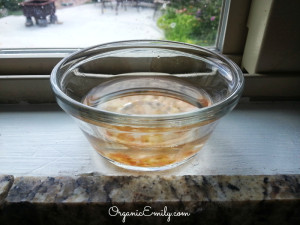
saving tomato seeds

Place seeds and liquid into a small bowl with water, cover with plastic wrap and poke a few holes into it for ventilation.  Set the bowl  in a sunny window seal or on counter.  Let the mixture ferment for 6 days at room temperature and stir every day.  Change the water around day 3.  The top of the bowl will look scummy when the fermentation process separates the gelatinous liquid from the seeds.  When this happens rinse the seeds thoroughly in a sieve and dry them on a glass plate or on wax paper.

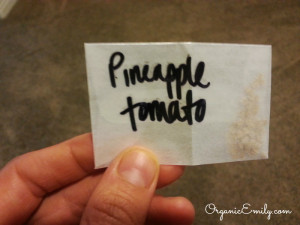
saving seeds in envelope

Let them dry for 1-2 weeks.  Be sure they are very dry before storing in a velum or paper envelope and label the variety with date.  Seeds will stay viable for at least 2-3 years.

Saving “Dry” Seeds

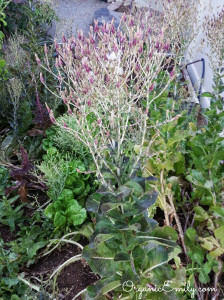
Head of Lettuce Flowering and Going to Seed

Saving dry seeds is actually very simple.  “Dry” seeds are plants that produce seeds from a blossom and then mature inside the flower or pod produced from the flower.  These seeds ripen on the plant and do not need any special treatment other than keeping them cool and dry for storage.  I recently did a post on how to save onion seeds, https://rootedemily.com/?p=358.  This is similar to that, but just wanted to show more pictures on “how to” with other vegetables.  The picture above shows a head of lettuce that has gone to seed.  You can see the top flowering.  Let’s take a closer look.

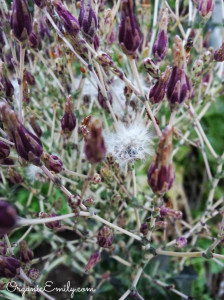
Seeds in Fuzzy Flower Head

In this picture you can see the flowers in a little more detail.  The ones that look fuzzy are an indication that the seeds inside are ready to harvest!  Notice they are similar to dandelion flowers going to seed.

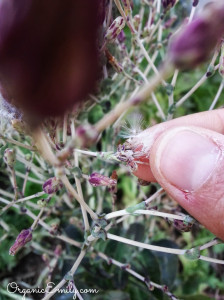
Pulling Seeds Out of Flower Head

Simply pinch and pull the fuzzy flower off the stem and at the bottom you will see little seeds.

Available Seeds from Lettuce

Here they are!  These little babies can be planted now during the first 20 days of August or they can be saved for next spring.  Be sure to save them in a moisture free velum or parchment envelope.  I get my envelopes from www.dianeseeds.com

Brocolli Seed Pods on Plant

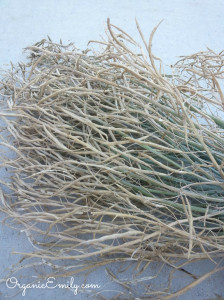
Can you guess what plant this is?  It’s one head of Walthom broccoli I let go to seed.  Notice the plant looks dry and dead.  This is what you want when harvesting  these dry seeds.  The head of broccoli produces flowers that produces pods.  This is the case for all cruciferous plants including kale, cauliflower and cabbage.

Brocolli Seed Pod

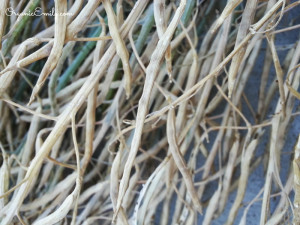
Here’s a closer look at all those pods!  That’s a lot of seed production from one plant!

Open Brocolli Seed Pod

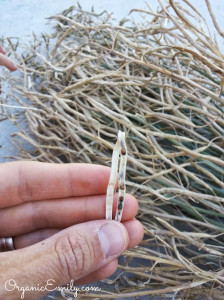
Inside the pods are the seeds.  You can get up to 20 seeds in one pod depending on the size.

Saving Sweet Pea Seeds

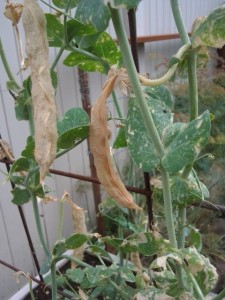
The concept with saving peas is the same.  Allow the pod to get big and dry as paper!  Then harvest them for saving seed!

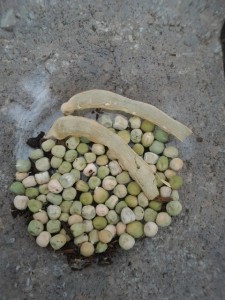
Shelled Sugar Pea Seeds

The seed pods should be easily opened.  You want to find very dry wrinkled seeds!  Save them in a cool dark place or plant them in the ground by July 20th for a fall crop.

There are many other crops that produce “dry” seed their first year like spinach, radishes, cilantro (best sown in fall and harvest seeds in early summer), and other herbs like dill and basil if allowed to go to seed.  Then there are plants that produce seed their second year.  These plants are considered biannual.  They include parsley, carrots, kale, Swiss chard, onions, beets and other root vegetables.  Leave those in the ground for a second year and they will produce seed.

Growing and Using Medicinal Herbs: Calendula

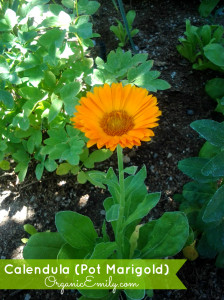
Calendula Plant

Growing Calendula

This bright and cheery flower is a hardy long standing bloomer and very easy to grow!  My calendula has even continued to bloom after the first few snow falls!  It grows best in rich fertile soil, but will grow in poor soil too.  The more you pick the red, orange or golden flowers the more the plant will produce!  I usually let a few go to seed so I can save them and replant them again in the spring.  However,theyt will self sow very easily.  When the blossoms are ready to pick they have a sticky resin on the petals which contain anti-fungal properties.  Pick the flowers when the leaves are still slightly upright.  Calendula flowers make a good companion plant for broccoli and squash families keeping the pests away and attracting beneficial insects.

Medicinal Uses

Calendula promotes cell repair and growth, healing wounds when made into ointments or salves.  The flower is noted as antiseptic and anti-inflammatory.  It can be used topically or internally as a tea to keep infections at bay.  It’s a wonderful herb for babies as it is soothing and gentle and used for diaper rash, cradle cap and many other skin irritations including sores, burns and bruises.  The tea can also be used for treating gastrointestinal problems such as ulcers, cramps, indigestion and diarrhea.  It is also known to be one of the best herbs for nourishing and cleansing the lymphatic system.  It works to assist with moving congestion out of the body along with regular exercise.  Calendula has a perfect safety record with no toxicity reported.


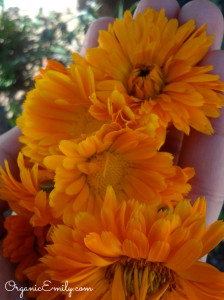
Picked Calendula Flowers

Calendula is best harvested and dried to use in teas and salves.  Pick the flowers just as they open on a dry sunny day, the resin will be stronger and will leave a sticky film on your fingers.  Allow the flower to dry in a basket under the shade of a tree, on your counter top over a paper towel or on the lowest setting of your dehydrator.   Once dried you can make your own solar infused calendula oil.  Also be sure to let some go to seed so you can grow them again next year.  Simply allow the flower head to completely dry before harvesting seeds.  Keep them in a cool dry place inside a velum or paper envelope.

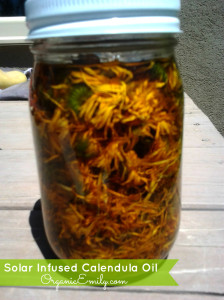
Calendula Oil

Calendula Oil

To make calendula oil fill a glass jar 3/4 full of dried flowers.  Fill the jar with olive oil to cover the buds by an inch and cover with a lid.  Place in a sunny, warm spot and let the herbs infuse from the sun for 3-4 weeks.  For double strength strain the oil and fill the jar again with more buds and put the oil back in the jar.  Start the process over again for another 3-4 weeks.  Once finished strain a last time and keep in a cool, dark place.  It will keep for a year in the refrigerator.   It can be massaged topically to the skin or can be made into a salve.


Calendula Salve

1 cup calendula salve

1/4 cup beeswax, grated

4-6 drops lavender essential oil

Warm the oil and beeswax over a very low heat until melted.  Check for consistency by dipping a spoon in the salve and placing in the freezer for a few minutes to see how it sets up.  If you want a firmer salve add more beeswax.  If you want it softer, add more oil.  Add the lavender essential oil which adds an antibacterial, antifungal and antimicrobial properties to the salve.  Mix quickly and pour into small jars or tins.  Let cool, put the lids on and storein a dark cool place.

To Use

Apply salve generously to treat skin rashes, wounds, cuts, diaper rashes or cradle cap.

Harvesting Onion Seeds

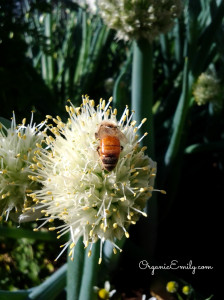
Green Onion in Bloom

This week in the garden I am harvesting my scallion seeds planted from last fall.  All onions among other vegetables like carrots, parsley, Swiss chard, kale and beets to name a few, produce seed their second year.  They are considered biannual.  If these plants produce seed in their first year discard them, for they are not viable.  In order to save seeds every year, try planting a fall crop of these varieties and allow to grow and go to seed in the early summer the following year.  Replant again in the beginning of August and start again!  The seed saving process is very simple.  As you can see from the picture above, my sweet little honey bee is collecting pollen from the blossom.  I had bees all over my onion blossoms this year!  They loved them!  Once the flower starts to dry it will produce seeds within the head.

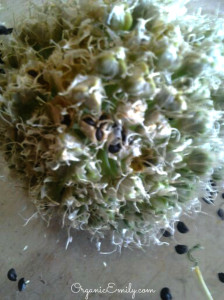
Onion Seeds

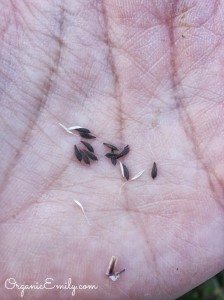
In the picture above you can see the flower head dry and starting to open to release little black seeds.  When you can see the seeds clearly it is time to harvest.

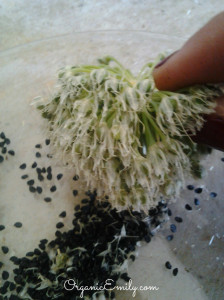
Onion Seeds 2

On a glass plate gently tap the picked dry flower head to loosen the seeds.  They will come out easily.  Allow the flower head to sit on the counter overnight.  In the morning you will notice more pods opening up to release more seeds.  Grow more scallions from seed again in the fall or share with friends.  Store in parchment envelopes or wax paper for later use.  Keep the seeds in a dry, dark cool place.